Have you ever wondered what to do with your empty goat, horse and chicken feed bags?

Well wonder no more - make tote bags out of them! Today I'm going to tell you how.
Disclaimer: I can't take credit for this idea, my out-of-state, chicken-owning friend sent me one a couple of Christmases ago, and I love it. It's perfect for my much-neglected knit afghan project. Also, there are probably other tutorials out there for this, too but I need something to blog about, right?
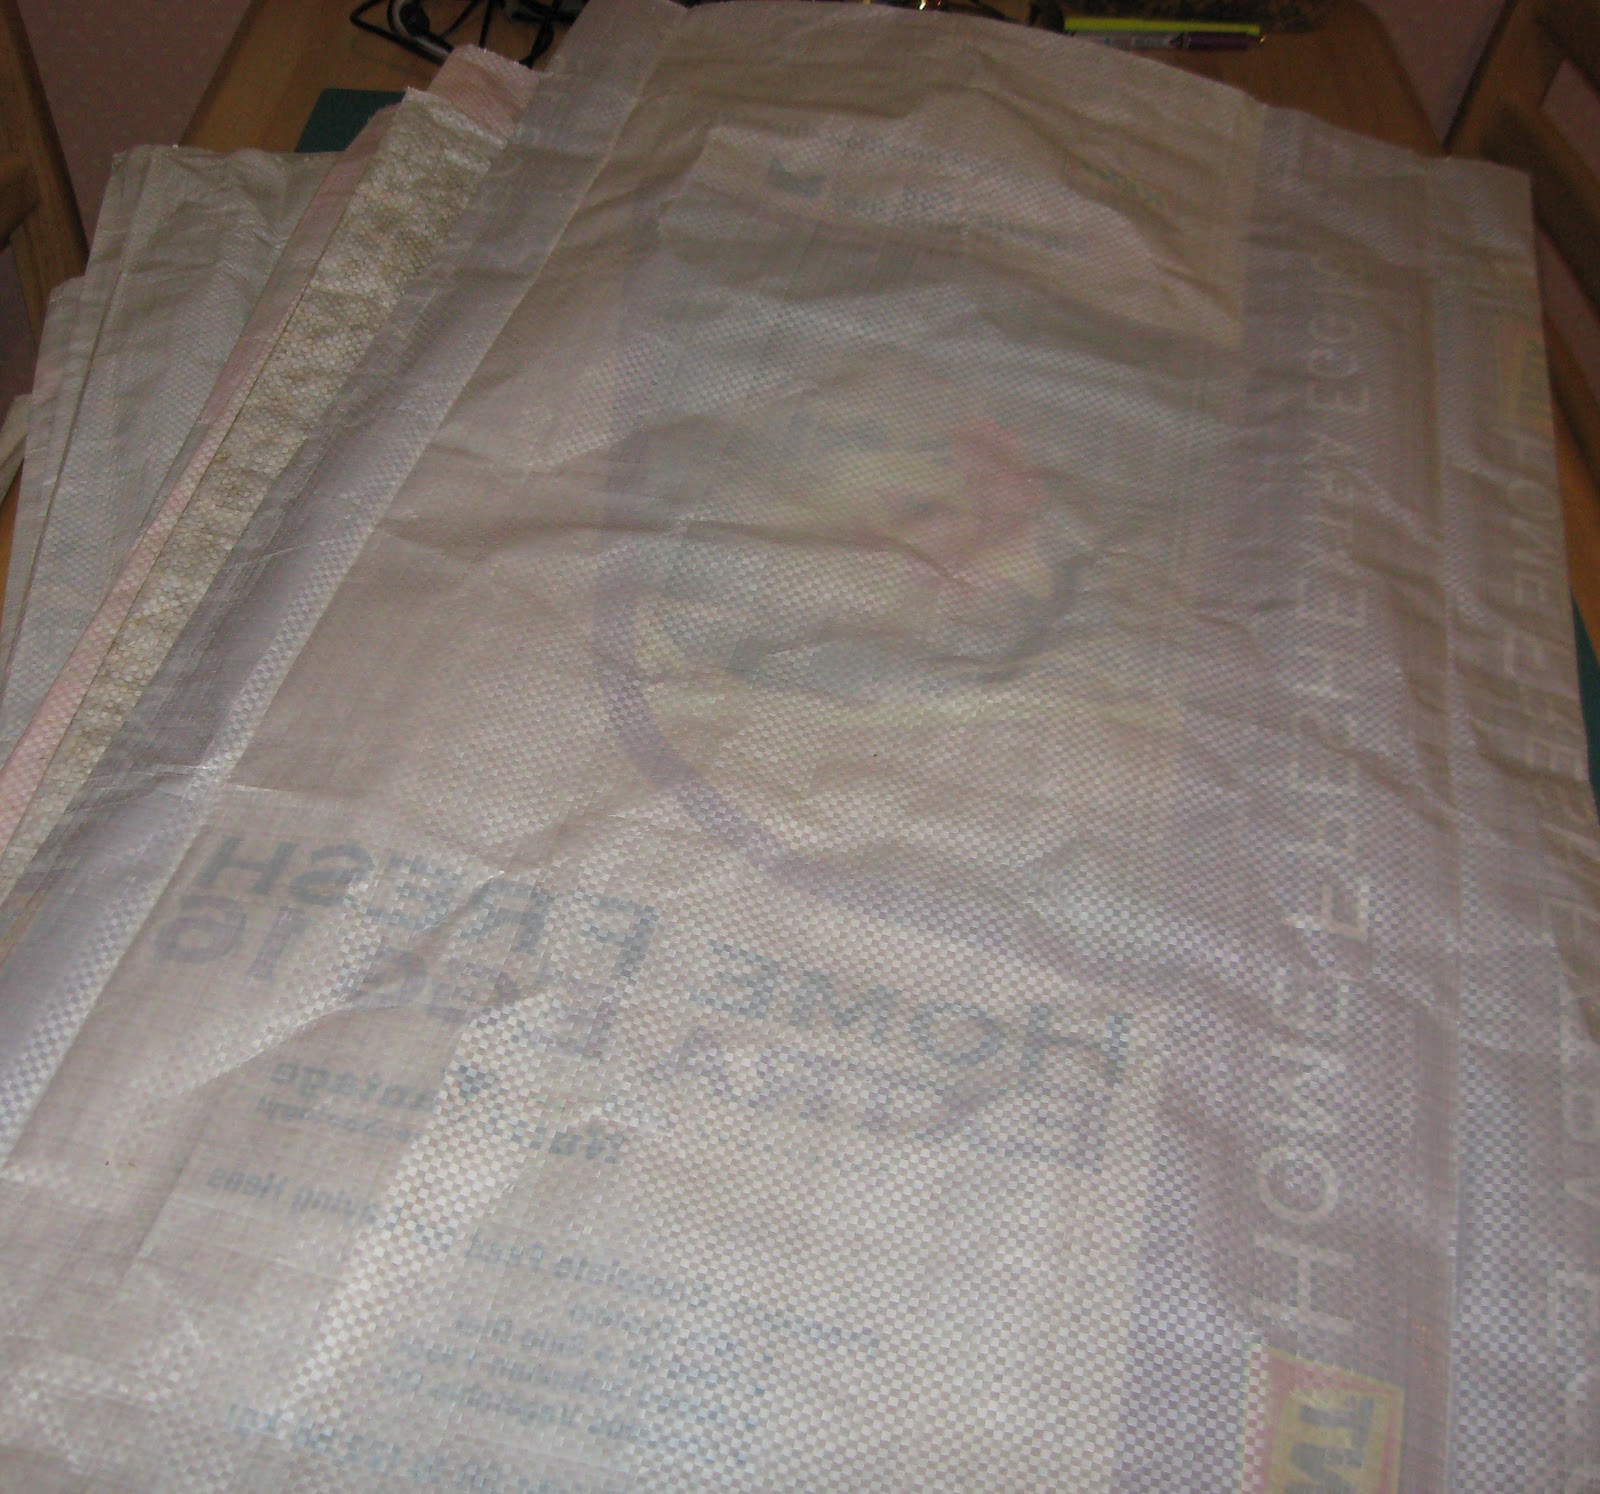
I have a friend with a farm nearby and she has
goats, sheep, alpacas and chickens. She also has a friend/neighbor with horses,
so there is no shortage of raw materials. If you aren't so lucky, I've seen this done with wild bird food
bags, too. As long as they're made of thin woven plastic strips,
they will work.
I find it easier do to this assembly line style, but you can make just one if
you're not stocking a farm stand.
 Get your feed bag(s) and remove bottom seams or bindings. Sometimes they'll zip right off sometimes not. If you cut them off, try to get as
close to the stitching as you can.
Get your feed bag(s) and remove bottom seams or bindings. Sometimes they'll zip right off sometimes not. If you cut them off, try to get as
close to the stitching as you can.
Fold them flat, nice and neat along the
existing creases and weigh them down for a bit to get them back in
shape. They're easier to work with if they aren't all crumpled. I did
this on my basement floor and stacked whatever I could find on them -
cases of pop, paint cans, etc.

 Once you've squashed them into submission, give the outsides a good wipe-down, then
turn them inside out and do it again. Turning them inside out is probably the hardest
part of this project. It's noisy, too. The chicken feed bags are usually
okay with just a damp cloth on the inside. Some of the messier ones
could use a dip in the washtub. One of the senior horse food bags was
particularly icky, so I rinsed that one.
Once you've squashed them into submission, give the outsides a good wipe-down, then
turn them inside out and do it again. Turning them inside out is probably the hardest
part of this project. It's noisy, too. The chicken feed bags are usually
okay with just a damp cloth on the inside. Some of the messier ones
could use a dip in the washtub. One of the senior horse food bags was
particularly icky, so I rinsed that one.
Next, grab your cutting mat, rotary cutter and a 24" ruler. I turned my mat upside down and used a cutter with a blade that was too dull for fabric.
 Square up both ends and try to take off most of the big holes along the bottom. I found the Scratch Grains bags were pretty randomly sewn along the bottom, so those bags are a bit shorter than the others.
Cut a 4" to 5" strip off one end to use for the handles. One set I cut 5", but they felt a bit wide, so the next batch was 4-1/2". I cut all of my handles from the top of the bag, but you can cut off the bottom, depending on the bag.
You can cut through or near the thicker fused section of the handle piece to make a long strip, if you want. I left them as rings, since they were easier for me to deal with and there was less chance of the ends fraying.
 Fold the handle piece in half lengthwise with the right side out, then fold each edge towards the middle. You'll end up with a ring (or strip) that's a bit over 1" wide and four layers thick. You can press this with a cool iron if you want, just use a piece of paper as a press cloth so you don't melt or separate the layers of the bag. I didn't bother with the iron. I creased them well and used quilt binding clips to hold the edges together. Paper clips would work, too. No pins!
Stitch about 1/8" from each folded edge. Don't sew through the fused part of the handle pieces - it's REALLY thick. Once both edges are stitched down, cut the thick part off completely. If you kind of curve the handles a bit, you'll be able to tell right where to cut.
After you remove the fused part, take the remaining strip and cut it half crosswise to make to make two handles.
 | |
Now, go back to the main part of the bag
and fold about an inch of the top edge towards
the plain side of the bag. Repeat to make a nice hem.

 Tuck an end of one handle under the hem all the way to the top fold and clip in place. I measured 3-1/2"
from the side crease (about 6-1/2" from the outside edge) and put
the outside edge of the handle there. You can put them anywhere, except on top of that fused section. Place and clip the other end of the handle the same way, being careful not to twist the
strips. You'll do this on the front and back of the bag.
Tuck an end of one handle under the hem all the way to the top fold and clip in place. I measured 3-1/2"
from the side crease (about 6-1/2" from the outside edge) and put
the outside edge of the handle there. You can put them anywhere, except on top of that fused section. Place and clip the other end of the handle the same way, being careful not to twist the
strips. You'll do this on the front and back of the bag.

Sew about 1/8" above the lower edge of the hem to hold the handles in place. Fold the handles up, clip in place and stitch about 1/8" down from the top of bag. When you get to the handles, you can stitch an 'X' on them, but I didn't.

Sew a 1/2" seam along the bottom of the bag then zigzag in the seam allowance for good measure.
 Mark
a square above the seam line, at the edge of the bag. The square needs to be half of the desired depth
of the bag - the bigger the square, the deeper the bag. I used the
measurement between the edge of the bag and the side crease for mine, to make them easier to fold up.
On most of the bags, that was 3". Mark each end of the seam and both sides of
the bag (so a total of four times).
Mark
a square above the seam line, at the edge of the bag. The square needs to be half of the desired depth
of the bag - the bigger the square, the deeper the bag. I used the
measurement between the edge of the bag and the side crease for mine, to make them easier to fold up.
On most of the bags, that was 3". Mark each end of the seam and both sides of
the bag (so a total of four times).The next part is a little tricky to explain. Pull the front and back of the bag apart at the corner of the marked square and flatten it out, folding the seam allowance to one side. This will give you a triangle with straight line across it, perpendicular to your sewn seam, like this:

Now, sew on the marked line, being sure to back stitch at the beginning and end of seam. . Repeat for the other end of the bag.

Okay, you're done sewing! Turn the bag right side out, pushing those gusset seams out to make a nice flat bottom. Fold it up like a paper grocery bag and admire your work!

The finished dimensions will vary, depending on the size of the original feed bag, how much you have to cut off to get rid of the old stitching lines and how big you make your gussets.
My bags are 21" to 22" tall (not including the handles), 15" wide and 6" deep.
Now, get sewing!
If you'd like to have a bag, but don't want to make your own, you can buy one here. They'll also be in the Flying Pig Fiber & Friends booth next weekend at the Great Lakes Fiber Show in Wooster. Which reminds me, I should be in the sewing room.
Thanks to Andrea for all of her kind words. I didn't even have to pay her to say those things. :-)


