First, gather your supplies. You'll need a rectangular piece of quilted fabric, a zipper the length of the short size of fabric, some ribbon for a handle, matching thread and some kind of marking tool.

I scored some of the these quilted placemats on clearance at JoAnn Fabrics a couple of years ago for $0.97. It's roughly 12" by 18", give or take 1/2" or so, and I used a 12" zipper. If your zipper is longer than that, it's okay.

My finished bag is about 7" long, 5" wide and 3" tall. You can adjust the size by adjusting the size of the quilted fabric you start with. The long side should be roughly 2" longer than the desired finished height plus the width times two (5+3=8, times 2 = 16 + 2 = 18). The short side should be 2" bigger than the length plus the height (7 + 3 = 10 + 2 = 12). I think. My math might be off a bit, so hopefully you won't get your heart set on exact sizes.
If you're using pre-quilted yardage or are quilting the fabric yourself, I recommend finishing the edges with an overcast or zigzag stitch to help keep the quilting from coming apart.
Step 1: Pin the zipper to the short side of the quilted fabric, right sides together, pulling the tab down a bit to keep it out of the way.

I pinned the zipper about 1/8" from the edge of the fabric
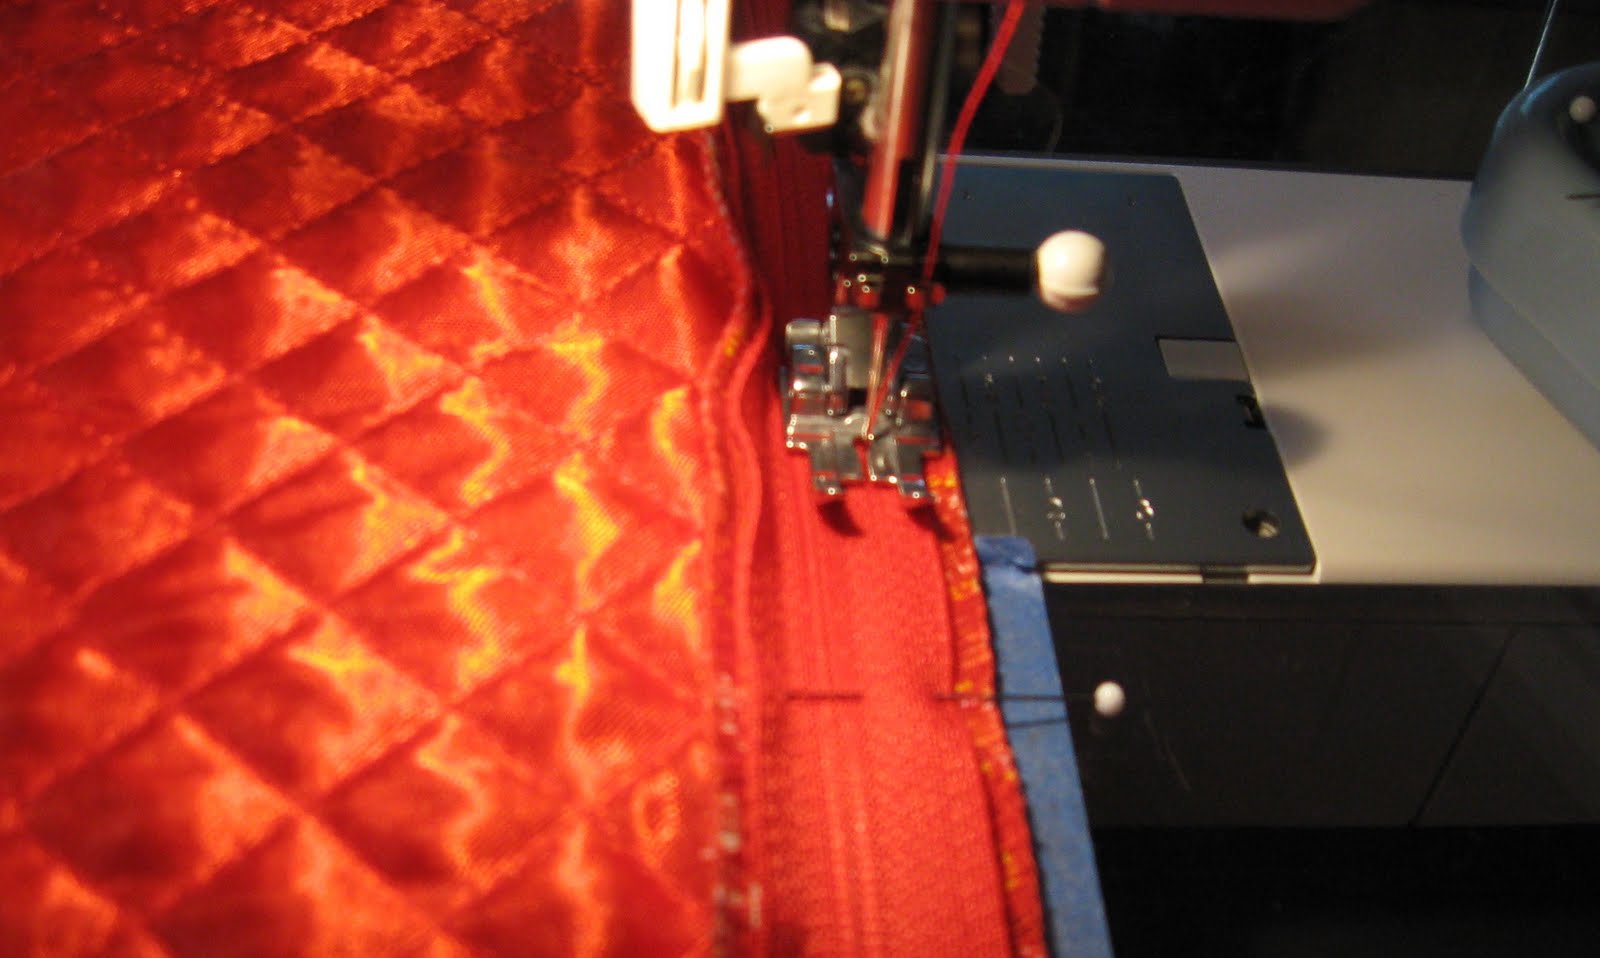
Step 2: Stitch 1/4" from the edge of the zipper tape.

When you get close to the zipper tab, stop with the needle down, zip up the zipper, then complete the seam.

Step 3: Pin the other edge of the zipper tape to the other short side of the quilted fabric.

Step 4: Stitch 1/4" from the edge of the zipper tape, as before.
Moving the zipper tab to keep it out of the way.

Step 5: Fold the fabric back from the seam and topstitch 1/8" from the seam. This will keep the fabric from getting caught in the zipper. Do this on both sides of the zipper.

Step 6: With the tube wrong side out, center the zipper and pin, as shown.

Open the zipper a bit, so you can turn it right side out later.
Step 7: Sew the pinned edges together.

Step 8: Now here's the fiddly part. For each corner, pull the side seam up and fold it back along the side fold. Center the seam and mark the height along the edge of the ruler.

45-degree line is along the edge, the seam is 1-1/2" from the edge, 3" chalk line is along the bottom of the ruler.
Step 9: Stitch along the marked line.

Repeat steps 8 and 9 for all 4 corners.
Step 10: On the end where the zipper tab is when it's closed, take a few stitches out along the new seam line so you can insert the ribbon for the handle. You need the opening to be a bit wider than the ribbon. Do this on both sides on that end. Sorry, this is a truly horrible picture.

And this one isn't much better.

Step 11: Cut a piece of ribbon a bit longer than the side of the bag. I cut mine 8-1/2" long. Insert the end of the ribbon into the opening in the seam line on each side, making sure the ribbon isn't twisted. Pin in place.

Step 12: Stitch over the seam line to catch the ribbon.

Step 13: Using a hand needle, tack the points to the seam line on the inside.

You could use pinking shears to trim the points off, but I think they add structure to the bag.
Step 14: Turn the bag right side out and you're done.

I added a removable stitch marker.
Oh and don't forget to thank your assistants for all their hard work.

"Sleeping here, Mama...."
1 comment:
Perfect! Thank you! I can't wait to try one. And your pictures are just fine :-)
Post a Comment